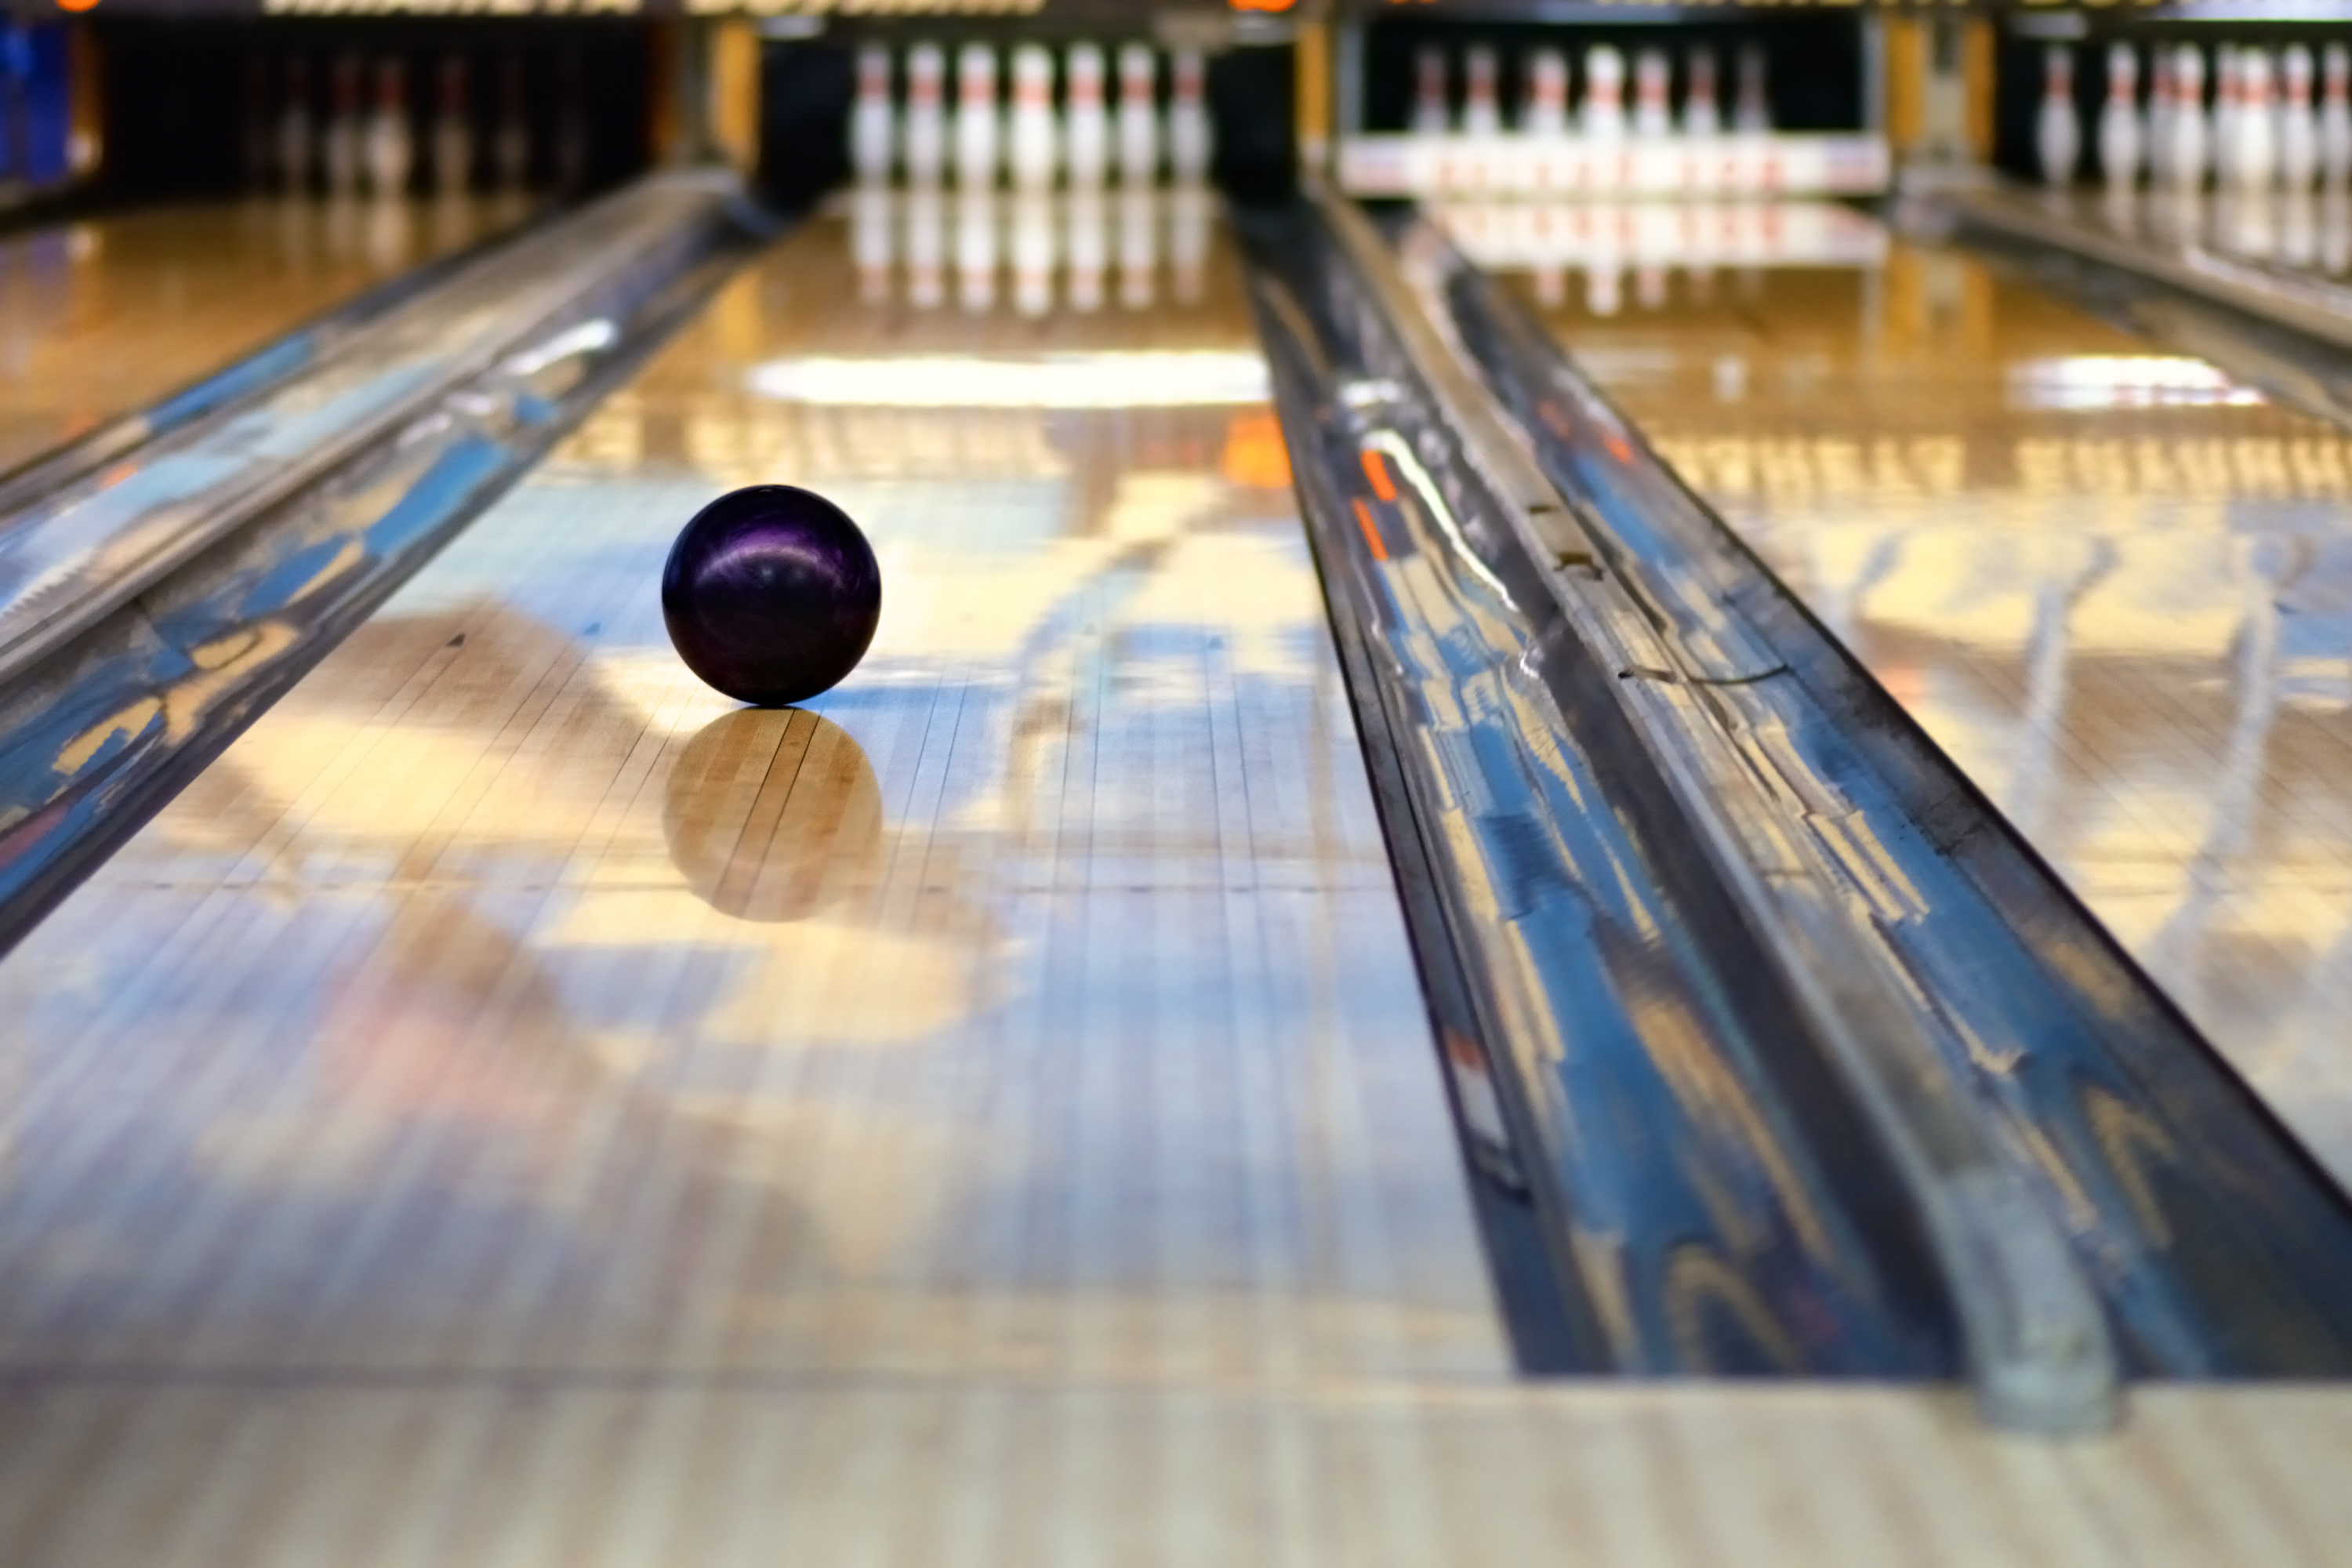
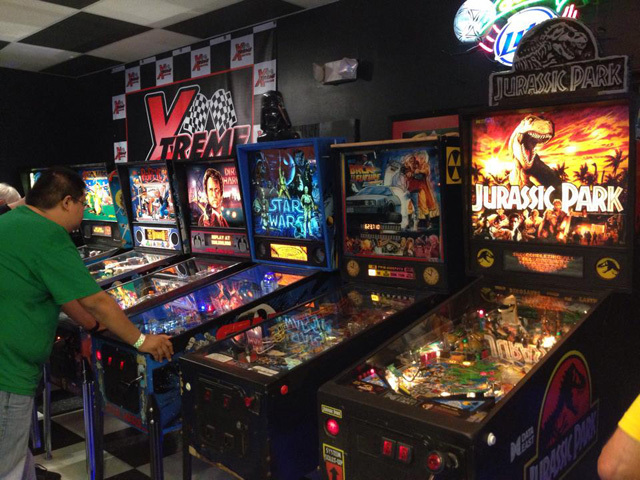
For many individuals, bowling lanes are considered the be-all and end-all when it comes to interactive entertainment. Man Caves and Game Rooms everywhere achieve a great ‘feel’ when they have arcade & pinball machines next to a home console gaming setup. But if you want ‘the best of the best’ for your room, it is hard to top the installation of a bowling lane into your location. Implementing a bowling setup in the rec room is understandably more complicated than typical home games device; it requires much more space, a long building process and a bigger investment. Nevertheless, if you’re looking to bedazzle everyone with your cutting-edge gaming taste, a bowling lane is the way to go.
We certainly understand that the mere thought of putting turning your game room into a bowling alley is a daunting task. However, here at PrimeTime Amusements, we’re here to tell you that building a bowling lane in your home is not as difficult as it seems. We have years of experience in both manufacturing and operation of bowling lanes of various types and brands. Several lanes sit right underneath our main offices at the Xtreme Action Park in Ft. Lauderdale, FL. Though the process does entail some preparation, as well as a somewhat lengthy construction phase (compared to other types of amusements that are mostly plug n’ play), it is a fairly straightforward procedure which can be completed in a matter of days, depending on the number of lanes to be installed.
In this article, we are going to briefly explain the models currently available, as well as the construction phases of a standard home bowling alley.
Picking A Lane
First it is important to note that not all bowling lanes are created equal. Thanks to the relationships we have with different bowling manufacturers, we have options that are available to a variety of spaces & budgets. Check out our bowling page here:
Alley Bowlers – Commonly thought of as “Skeeball” (that’s just the brand name of the original inventors of the concept), alley bowlers are bowling machines without pins. Instead, you roll the ball up a ramp into the targets. Most models of alley bowlers can be adapted for free play use in a home and ship in two pieces – the back target portion and the lane. You’ll need at least 14’ of space to install most models (many of these are 10’ in depth, you need a few feet to bowl). As these are essentially arcade machines, they do not come with professional installation as a standard but let us know if you need a solution in this regard. Check out our Alley Bowlers here: https://primetimeamusements.com/product-category/alley-bowlers/
Compact Bowlers – Thanks to models such as the Imply I-Bowl+, this bridges the gap between an alley bowler and a real bowling lane. Designed to have a similar size to an alley bowler, units like the I-Bowl+ uses miniaturized bowling pins and a string based pinsetter. Available in 16’ and 25’ sizes with a variety of themes: https://primetimeamusements.com/product/ibowl-compact-bowling-lane/
Mini-Bowling – The next step up is what is called Mini Bowling. This is an excellent solution for homes that have some space but not enough for a full-blown professional lane. Bowling balls are still able to fit in the palm of an adult hand but are not as large as pro bowling. Created in various sizes, we strongly recommend this option for most residential situations. Available as Imply Mini-Bowling and QubicaAMF Highway 66.
Bowling Café – While designed for restaurant & café situations, this also can work out in residential setups that want to have full-sized bowling balls and pins but may not have quite enough space for the complete professional lane. Find out more here: https://primetimeamusements.com/product/imply-bowling-cafe-compact-bowling-alley-lanes/
Official Lanes – For the truly professional size and experience, these are the types of lanes found in commercial bowling alleys and other family entertainment centers all over the world. Read more about them here: https://primetimeamusements.com/product/green-bowling-lanes-by-imply/
While in the process of selecting a model, you will want to determine the space required and available within the room where you intend to install the product. Depending on the type of bowling alley you want, as well as the number of lanes, this process can take anywhere from some minutes to few days to a bit over a week.
Material Loading & Pre-Construction
Ok, so you have selected a model and ordered it. Time flies by and the product arrival date approaches. We will send you a list of electrical requirements that you need to have your own electrician verify are satisfied. The installers will also need a room such as a locking closet on the premises where they can safely keep their tools during the install. Assuming you have gone with a Mini-Bowling lane or larger, the construction crew may begin conditioning the room to accommodate the lane, which consists in creating the pit in which the structural woodwork that supports the bowling alley will be set. For official lanes, the pit is usually around 17 inches deep and will extend to around 86’-6” long. Inside it will be placed the ball return and lift device through which bowling balls will make their return after being launched by the player. Pre-construction for smaller models is not as extensive and may not require any digging at all.
Structural Framework
As soon as the materials and machinery arrive, construction may begin in full. For a full-sized professional lane, the concrete slab on which the woodwork and the bowling alley itself will rest must be set. This concrete slab is only a few inches thick and must be level to at least ½ inch throughout the entire bottom area. Furthermore, a single 1-inch electrical conduit must be embedded within the concrete slab in order to house the cables which feed powers to all under-lane equipment and machinery. After the slab is set, the woodwork may begin in the form of pads, mated leveling wedges, and l-joists. As soon as the foundations are set, the ball return lanes and ball lift machinery must be installed; the racks where the bowling balls rest prior to being used are installed later on. After these tasks are done, work may begin on the approach, and the lanes themselves.
Again, for products like Mini-Bowling, much of this many not be necessary as long as the concrete is thick enough to handle the spread-out weight.
Pin Deck, Approach, and Bowling Lanes
After the structural woodwork is set, the floorboards of the bowling lanes, approach and pin deck can be installed. This step is fairly straightforward, and its duration will vary depending on the number of lanes, as well as the specific details the customer will require for their bowling alley.
Machinery Installation
Once the floor is ready and set, the next step is the installation of pin-setting machines located at the end of each lane. As their name implies, these machines are the ones that reset the pins after each round.Many of the models we sell use string based pin-setters, designed to avoid tangling after get hit with a fast moving ball. Each of the setters requires a tri-phase 208V outlet, or a single phase 230V outlet, so preparations must be made in order to guarantee that the pin-setting machines receive the power necessary for their proper operation (this is where it is important to ensure that your electrician has visited your location previously and ensured that everything is up to spec according to the requirements we send to you).
Following the installation of the pin-setting machines, the ball racks must be installed. These are set up at the end of the under-lane ball lift and are the spaces where the balls will rest after returning from play. In the first phase, only the under-lane canals were installed, while in this one, the terminals of each ball returns will be set.
Optional Features
When the pin-setting and ball racks, along with the appropriate paneling and woodwork to conceal them are set, the bowling alley is technically ready for use. However, without the installation of scoring cameras and TV displays, each game of bowling will require manual scorekeeping, and might entail difficulties to determine which pins are left before a spare. For this reason, it is important to consider the installation of said devices that will automate the tedious aspects of the game, and make each match flow as smooth as possible. If there are kids around, you might want to consider installing automatic gutter rails the deploy as soon as the ball is going to hit a gutter, allowing kids to have fun with the game. These rails can also be configured with a foul detection system to be automatically deployed in case of a foul play.
The users who want to install a thematic bowling alley might also want to invest in projectors screens and graphics panels, as well as appropriate decorations that will help to really set the mood of the alley. These can be installed by the seller, and are usually established before the construction begins, as they require additional equipment that must be procured and shipped.
Bowling alleys are complex constructions, often consisting of several moving parts and machines. Be sure to consult with the seller about the construction warranty, as well as the warranties offered by manufacturers of all the machinery involved. Most sellers will offer at least a one-year warranty which safeguards from construction flaws as well as any machines installed, while other components might include their own manufacturer’s warranty, which could extend for longer periods of time.
Here at PrimeTime Amusements, we like to keep ahead of the curve in arcade game rental and sales and pride ourselves in providing the best service in the country. If you’re looking for a game in particular, or have a few questions about the industry, feel free to give us a call at 1.800.550.0090 or to swing by at 5300 Powerline Rd. Suite 210, Ft. Lauderdale, Florida, 33309.


