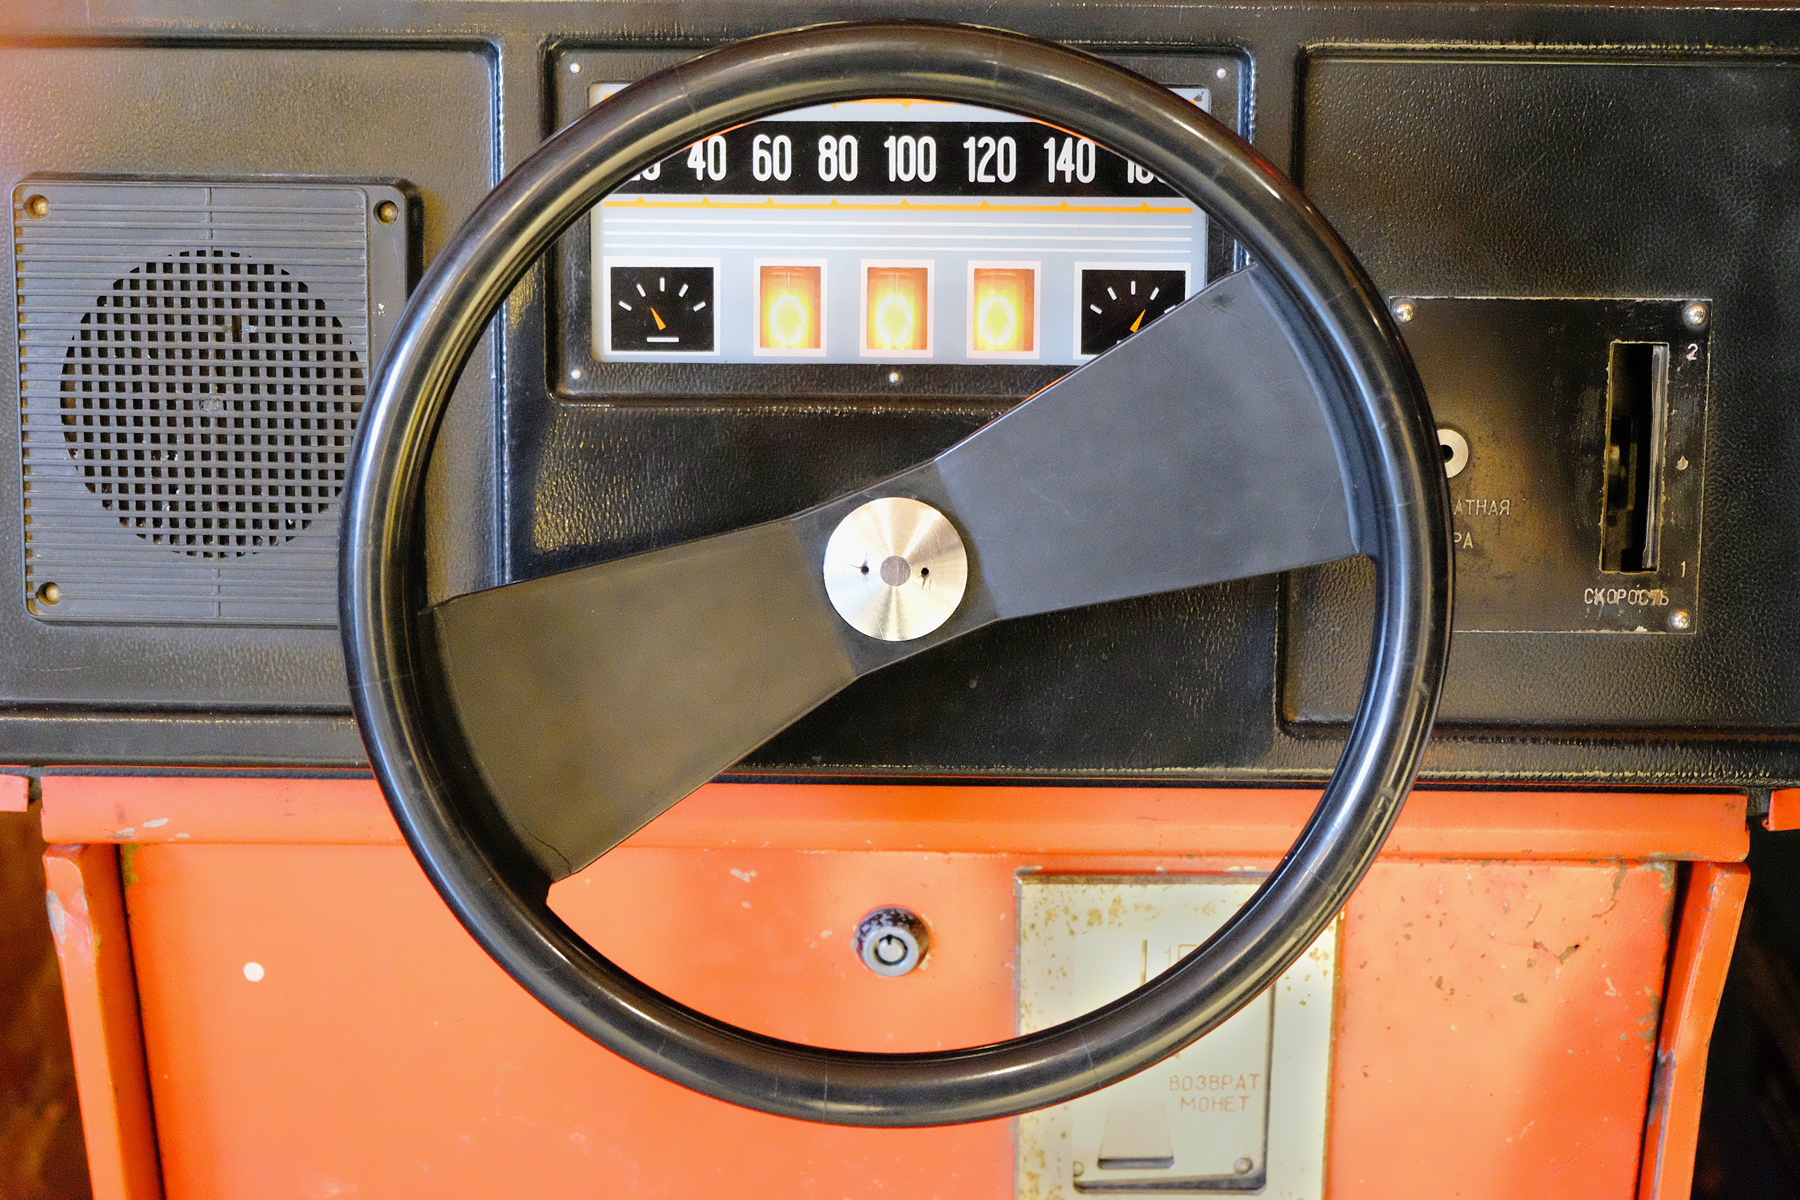
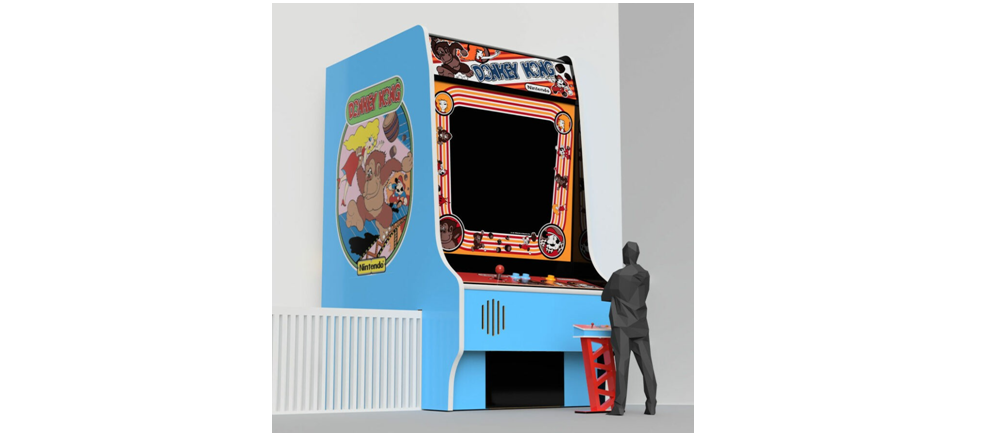
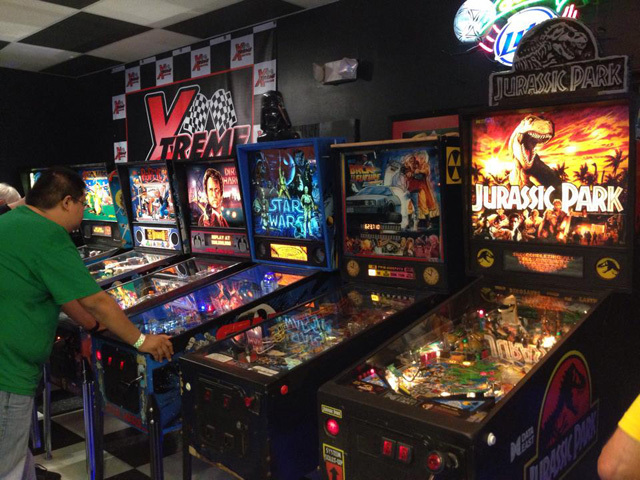
We’ve touched the topic of arcade game refurbishment before or, in the case of this article, how gaming enthusiasts create custom arcade cabinets for their favorite games from scratch, and showcase them for the world to see. Arcade gaming is, quite literally, our life here at PrimeTime, this industry is where we make a living, so we can understand what it’s like to grow attached to your favorite games. Consequently, not wanting to split with them, even after their glory days are long since past, is unavoidable. Fortunately, we come to you today with a list of sorts; one that can help you breathe new life into your old arcade cabinets, and make them look good as new, without having to break the bank, or hire costly professionals to do so.
Cabinet restoration is a process that is best tackled in segments, given that even the most rudimentary arcade cabinets will have tons of circuits, panels, switches, and other types of systems working in tandem in order to provide their entertainment. In that sense, it’s understandable that we’ll need some sort of system going in order to address every single part of the arcade cabinet, and be able to efficiently restore it to its original state. In this manner, you will be able to indulge once again in your formerly-broken arcade game and, if anything, if you’re looking to sell, you might be able to turn a bigger profit if you pitch a restored machine, rather than a damaged, rusty bucket o’ bolts.
So, without further ado, let’s get started:
Before Anything, Check That The Game Works
One of the biggest red flags when it comes to arcade restoration, is when the game in question has suffered damage to circuits, mechanical parts, or any other similar systems. These issues are particularly serious, especially because the repairs can’t normally be carried out by newcomers or by those that don’t have an amount of expertise of knowledge in electronics or performing electrical work.
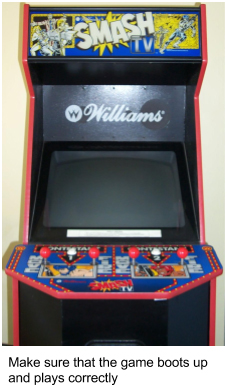
So, before getting started with the restoration process, let’s first hook up the machine in question and see how it performs. Plug that bad boy in and boot it up: Is everything running fine? Are the controls responsive? Does everything seem to be in order? If you answered yes to all these questions, then good for you. However, those that are having trouble with malfunctioning controls, visual glitches, failure to boot up, or even failure to turn on might have to run additional troubleshooting.
But before opening the cabinet up yourself, we heavily recommend taking a look at the owner’s manual beforehand. If you never had a manual, or misplaced your copy, then you may find a downloadable version on the manufacturer’s website or, at the very least, have the option to get it mailed to your home. These manuals are utmost essentials when performing any type of repairs, as they contain useful troubleshooting tips and, in some cases, even wiring diagrams of the machine, so you can inspect the game’s electrical system yourself. Now, we don’t recommend sticking your hands in any machine’s electrical system if you don’t have the necessary tools or know-how. However, with the use of this manual, you can actually run some diagnostics yourself, so that the person that will perform the repairs can actually do so without spending too much time – at your expense – looking for the defect.
Restoring Controls and Components
If the machine has been tested, and all the circuits seem to be functioning properly, then it’s time to go over the controls and other components. For most video arcade games, replacement parts can be found on eBay, or other websites that deal in these machines. Unfortunately, these parts are not something you can just walk to your local hardware store and pick up, so you may have to perform some part hunting on the internet. The most common parts that are most likely to require replacement are the joysticks, buttons, trackballs, speakers, guns – and other types of controllers – and the levers and switches that go inside the cabinet itself.
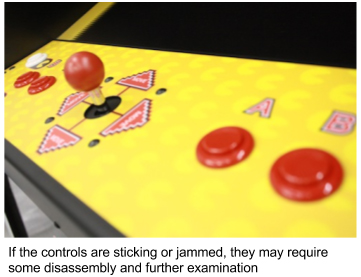
Dealing with old Pinball machines might be a bit trickier. Unlike video arcade games, pinball machines – as well as any mechanical amusements – have a bunch of moving parts within the panels. Depending on the age and the amount of use that the machine has endured, the different parts may begin to stick, break, and so on. Dirty and grime-covered components might require a bit of rubbing alcohol to remove all the filth. However, controls and components that are sticking might require being taken apart in order to perform a deeper cleansing. By examining every moving part, you can easily make note of which ones need cleaning and which require replacements.
Refurbishing The Cabinet Itself
Now comes the fun part. After the controls have been replaced, and the internal components are in working order, we are now free to restore, repaint, or even redesign the cabinet itself. This process flows better when divided into several sections, in order to organize the workload and perform the restoration in a more efficient manner.
The very first thing you’ll want to examine is the cabinet itself. Are the wooden panels chipped, nicked, or otherwise damaged in any way? The smaller imperfections on the wooden panels can easily be ironed out with wood filler products. Nevertheless, bigger sources of damage, such as those caused by water, nasty bug infestations, or even bumps incurred while moving the machine around might need to be addressed with other measures. In these cases, it might be necessary to strip the console from its original design either by sanding it, or by peeling off the graphics in the case of adhesive designs. After the panels are stripped of paint, we can easily examine the extent of the damage, as well as make the necessary reparations. Only in the most extreme cases are the complete replacement of wooden panels required. So, unless you left your machine to the mercy of the elements, you most likely won’t need to go so far as to commission new panels.
If you had to strip the cabinet of its paint, then you’ll need to perform a series of steps in order to ensure that the new design sticks and doesn’t get damaged when applying it. First, you should use a primer so that the surface is as smooth as possible for the new set of graphics. Depending on your area of expertise, you could hand-paint the new design, as this will really make your new cabinet stand out for its uniqueness; there will be no other one like it. Another great alternative is to print adhesive graphics of your design, and apply them to the panels.
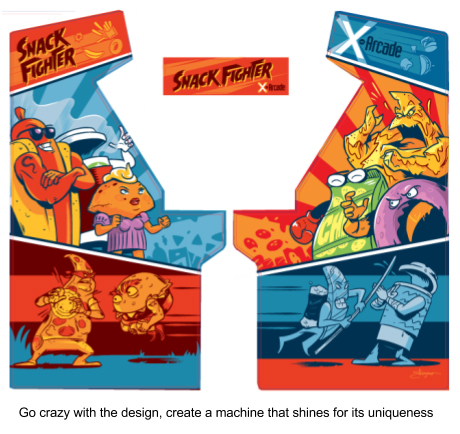
The sky’s the limit when it comes to design. Afterward, when your old arcade cabinet looks good as new – for a fraction of the price that it would’ve taken to send it for repairs – you can set it on your gaming room, or consider selling it to any interested parties for full price.
At PrimeTime Amusements, we live and breathe arcade gaming. These amusements are our passion, and we take great pride in providing the very best arcade game sales and rental solutions to all our customers. If you want to place an inquiry, or require support with a game in particular, feel free to call us at 1.800.550.0090, or to drop by at 5300 Powerline Rd. Suite 210, Ft. Lauderdale, Florida, 33309.

