In the realm of video games, one of the most essential components to the game is the display. Without it, the game can’t be considered a “video” game in the first place. With this tech tips article, we’re going to get into some of the basics behind maintaining and repairing the monitor on a game. This does not cover every possible fault nor dive into extreme details on repair, but should serve as a good starting point for beginners.
NOTE: PrimeTime Amusements is in no way responsible for any damage to any component of yours in any attempted repair. We are simply providing this information as a service, with no guarantee of the outcome.
Monitor Types
Before we can talk about fixing them, let’s take a look at the types of monitors that are typically found in arcade games. While they all will display graphics on a surface, how they do it changes certain steps in how you will repair them.
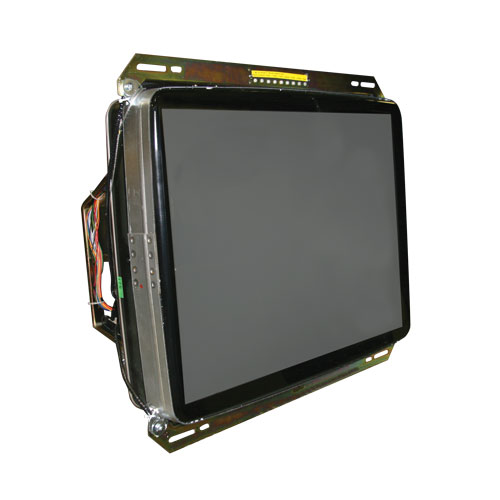
CRT Monitors – CRT is short for “cathode ray tube,” and is often referred to as a “tube monitor.” These were the types of monitors used in most arcade games from PONG to titles released as recently as 2009. They use high voltages and electron guns to draw the screen line-by-line at 60 times a second. They could naturally work with infrared light-gun devices, but are also rather heavy and somewhat cumbersome to work with. Note: CRT monitors operate using high voltages that can remain inside of the electronic components, even if the monitor has been unplugged and disconnected for several years. If you are unfamiliar with how to properly discharge a monitor, then we highly recommend that you hire a professional to work on your monitor, as the shock that can be had from one of these monitors can be lethal.
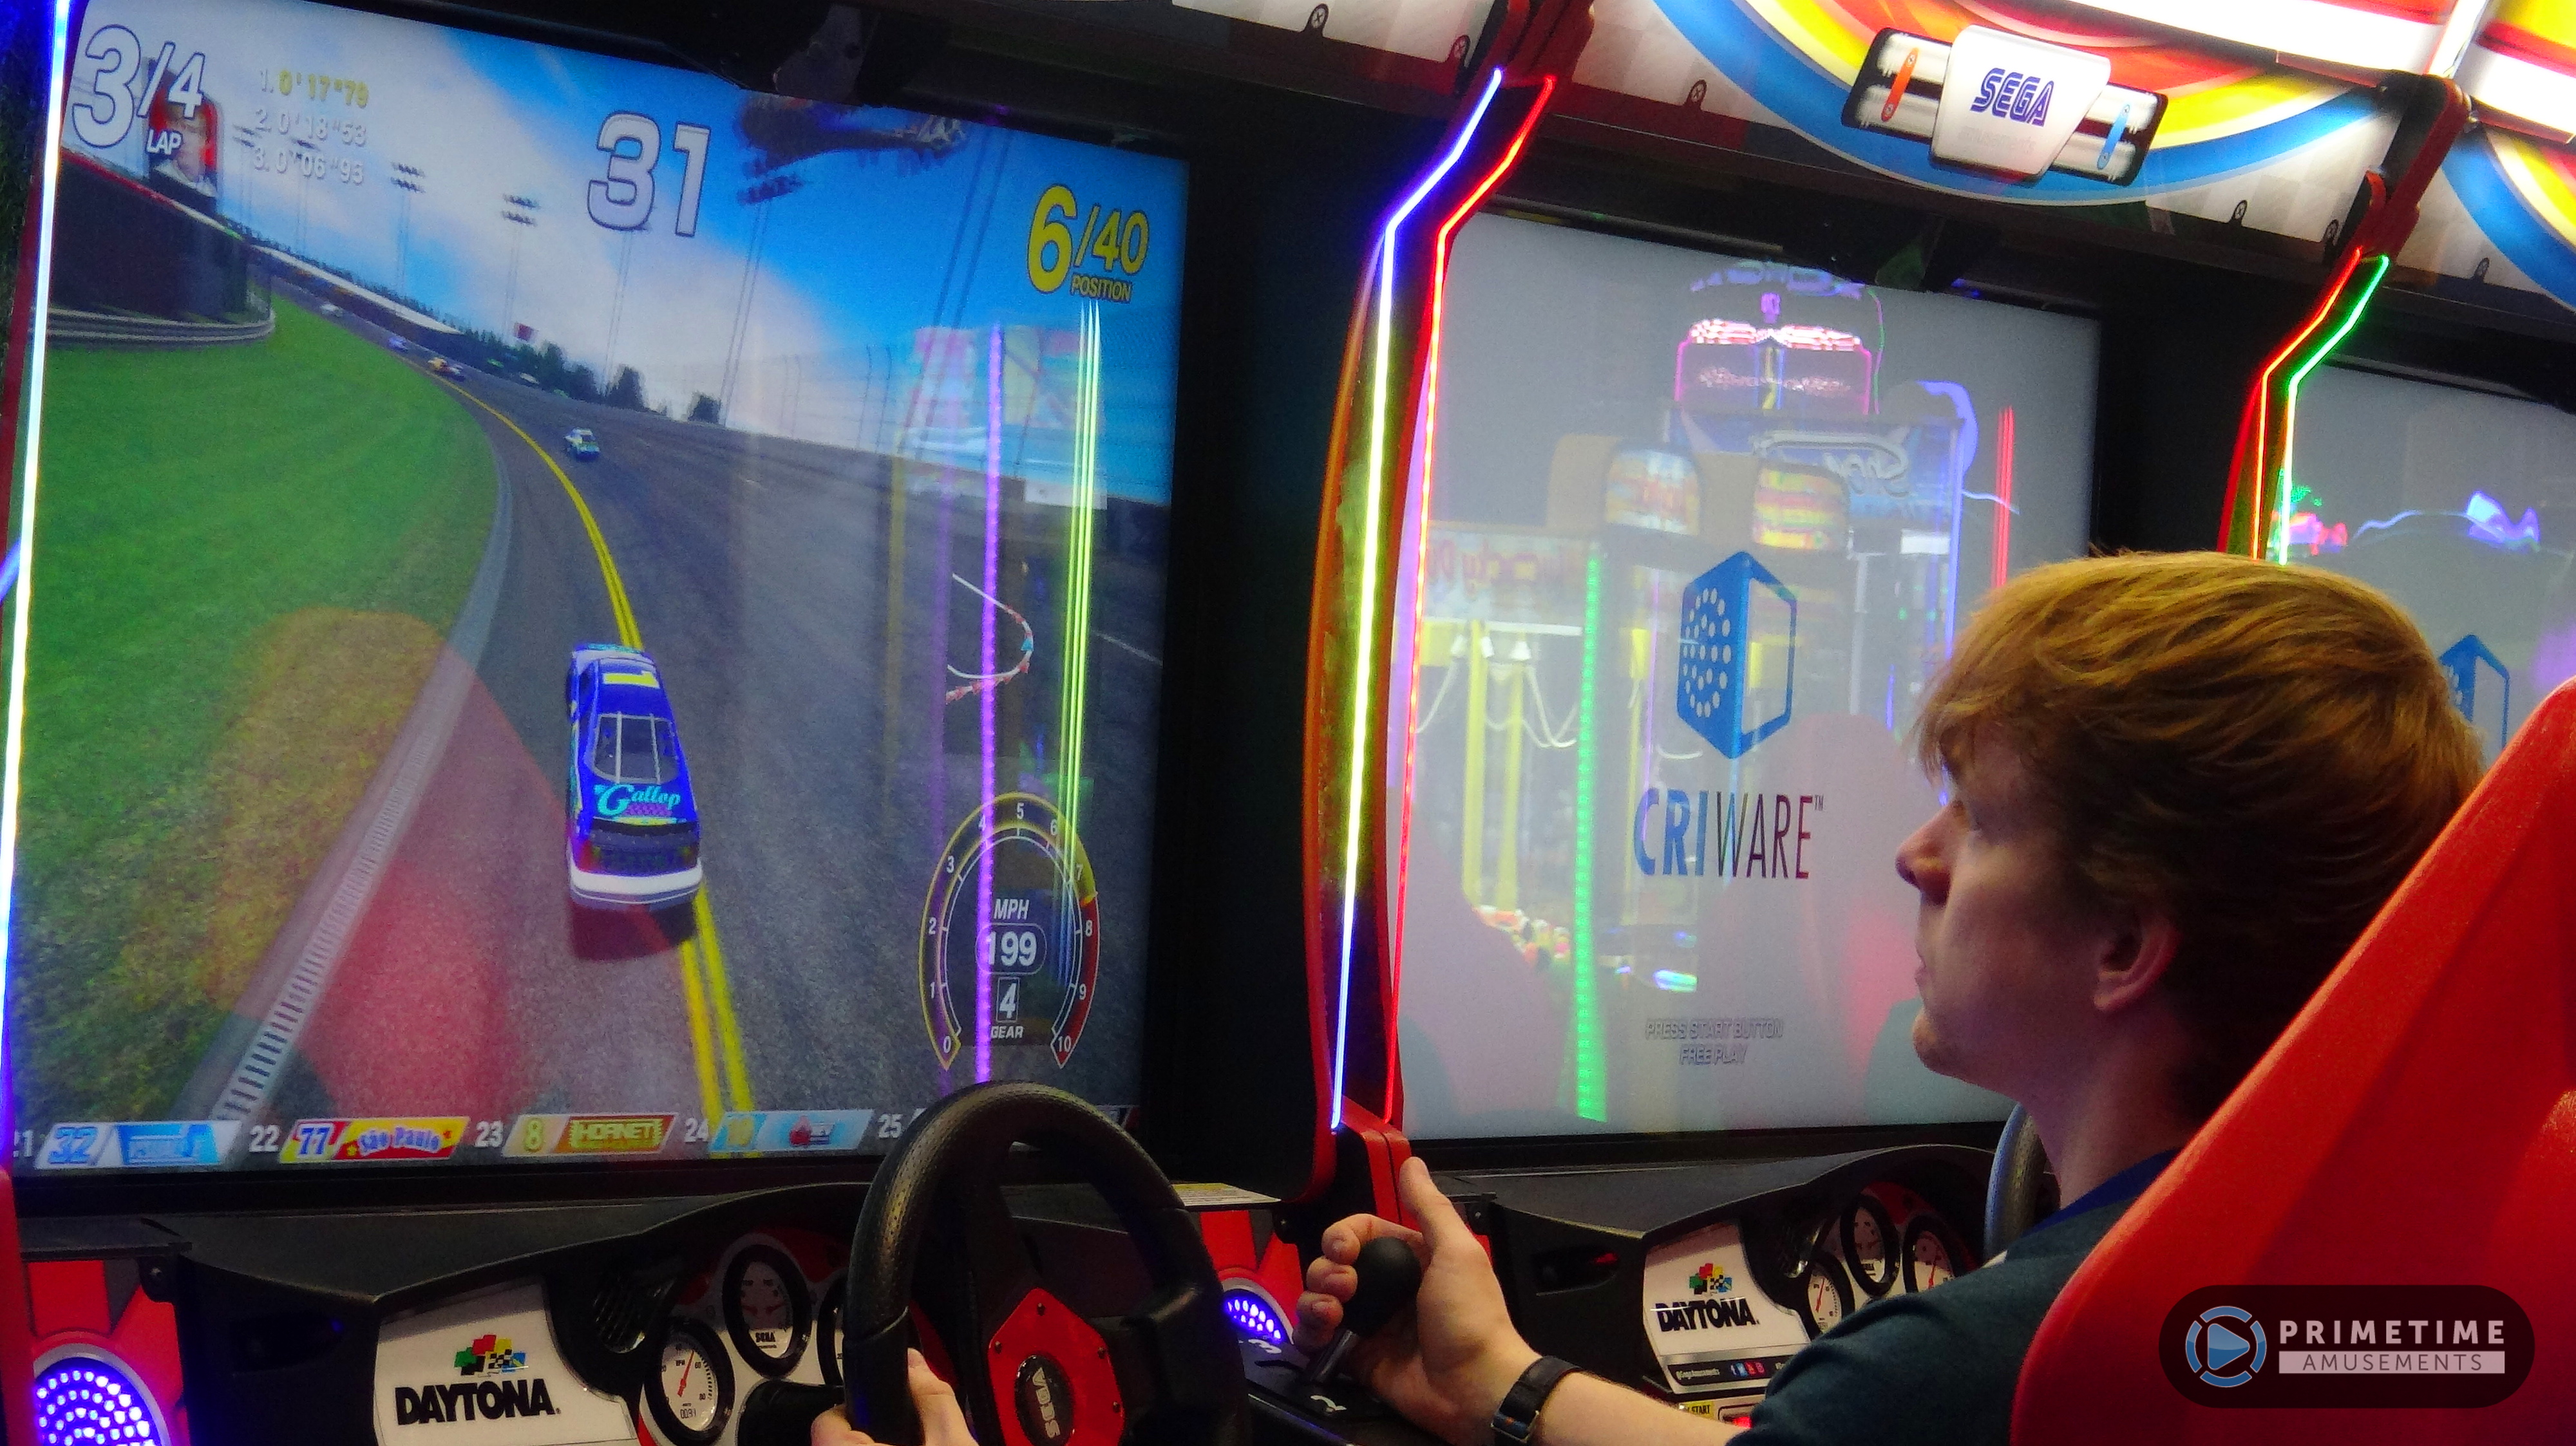
LCD Monitors – LCD is short for “Liquid Crystal Display,” and is the standard type of monitor that is used in today’s games. Sometimes called a “flat panel,” “flatscreen,” or “HDTV.” By applying electricity to a specially made crystal, the pixels on the screen can be manipulated to show an image. These are thin and are available at a low cost, which has allowed more games to feature larger screens than in the past. The technology has also improved greatly over the past few decades, allowing current screens to feature fantastic image quality.
You have probably heard about LED TVs, but these are just an LCD that uses a matrix of white LED lights to light the crystals, as opposed to fluorescent bulbs that had been used in the early days of the LCD technology. The basic principles of screen operation are still the same. For other flat panel variations like plasma TVs, OLEDs and Quantum Dot Displays, those have not been used in an arcade game at this point so will be outside our purvue.
LCD monitors usually connect to a game computer via VGA (15-prong connector, typically blue, but sometimes black or grey) or DVI (many more prongs in three rows and a plus-style pin arrangement on one side). Always take care to plug these in properly, as going in upside down can bent or break pins. These will also have screws on the side that can be tightened by hand to stay fixed into place.
Note that there are some instances where arcade machines allow the operator to use a TV that they buy from the store. Games like Big Buck HD and Golden Tee fall into this category. If your game is like this, then please contact the technical support for the TV manufacturer for help. The one exception is that monitors in these cases will need to have a Boot On Power or Auto On function. If they do not, then you’ll have to manually or with a remote, activate the TV every time you turn the game on.
Projection Display – A device used to casts an image onto a white or silver canvas, best known in movie theaters. Modern projectors are a variation of an LCD monitor and they allow some games to work with uniquely shaped displays, or to go much larger than a typical LCD monitor. While few arcade machines have used these compared to other styles, they are essential in motion theaters; they also find use in Mixed Reality arcade games, which adapt projection into a small space and on uneven surfaces. One variation of projector technology that was popular in the late 1990’s into the 2000’s was the DLP monitor, which uses an internal projector, mirrors and such to allow for a larger display than what is found with CRTs, but they’ve fallen out of favor thanks to advancements in LCD.

Troubleshooting Displays
The most noticeable issue that one will come across with monitors is when they do not power up. First, you need to ensure that it is an issue with the power to the monitor and not a general power issue with the game, or a problem with the video card. The easiest way to test this is to turn the game on, then look for lights and listen for gameplay. Sometimes the lights might come on, but there can be an issue with the game computer, so nothing will display; test this by inserting a coin or swiping a card and see if any audio comes from the game. If so and there’s no image, then you’ve got a problem with the monitor. If there is no sound or indication of gameplay, then it is likely a power or game board issue.
Display Power – CRT: In troubleshooting a CRT power issue, you’ll first want to turn the game on and see if there is any static electricity emanating from the front (often this can be heard with a “crackle”). It is also useful to open up the back of the game, and listen for any electrical buzzing sounds. If you can look at the “neck” of the tube, you can also see if there is any soft orange glow there.
If these noises are present and there is a glow, then you will want to double check the video connection as well as in checking the screen settings. There should be a small circuit board with buttons or dials on it that can be used to adjust brightness/contrast. If there is no response from adjusting those settings, then there is a black cylindrical device on the back called a flyback. A flyback has a red cable that comes out of the top that has a suction cup on the end (DO NOT touch that suction cup, unless you know what you are doing. Otherwise with power in the unit, it has a lethal shock). It also has two dials on the back – one of those is called SCREEN. Adjust the screen dial to see if an image appears.
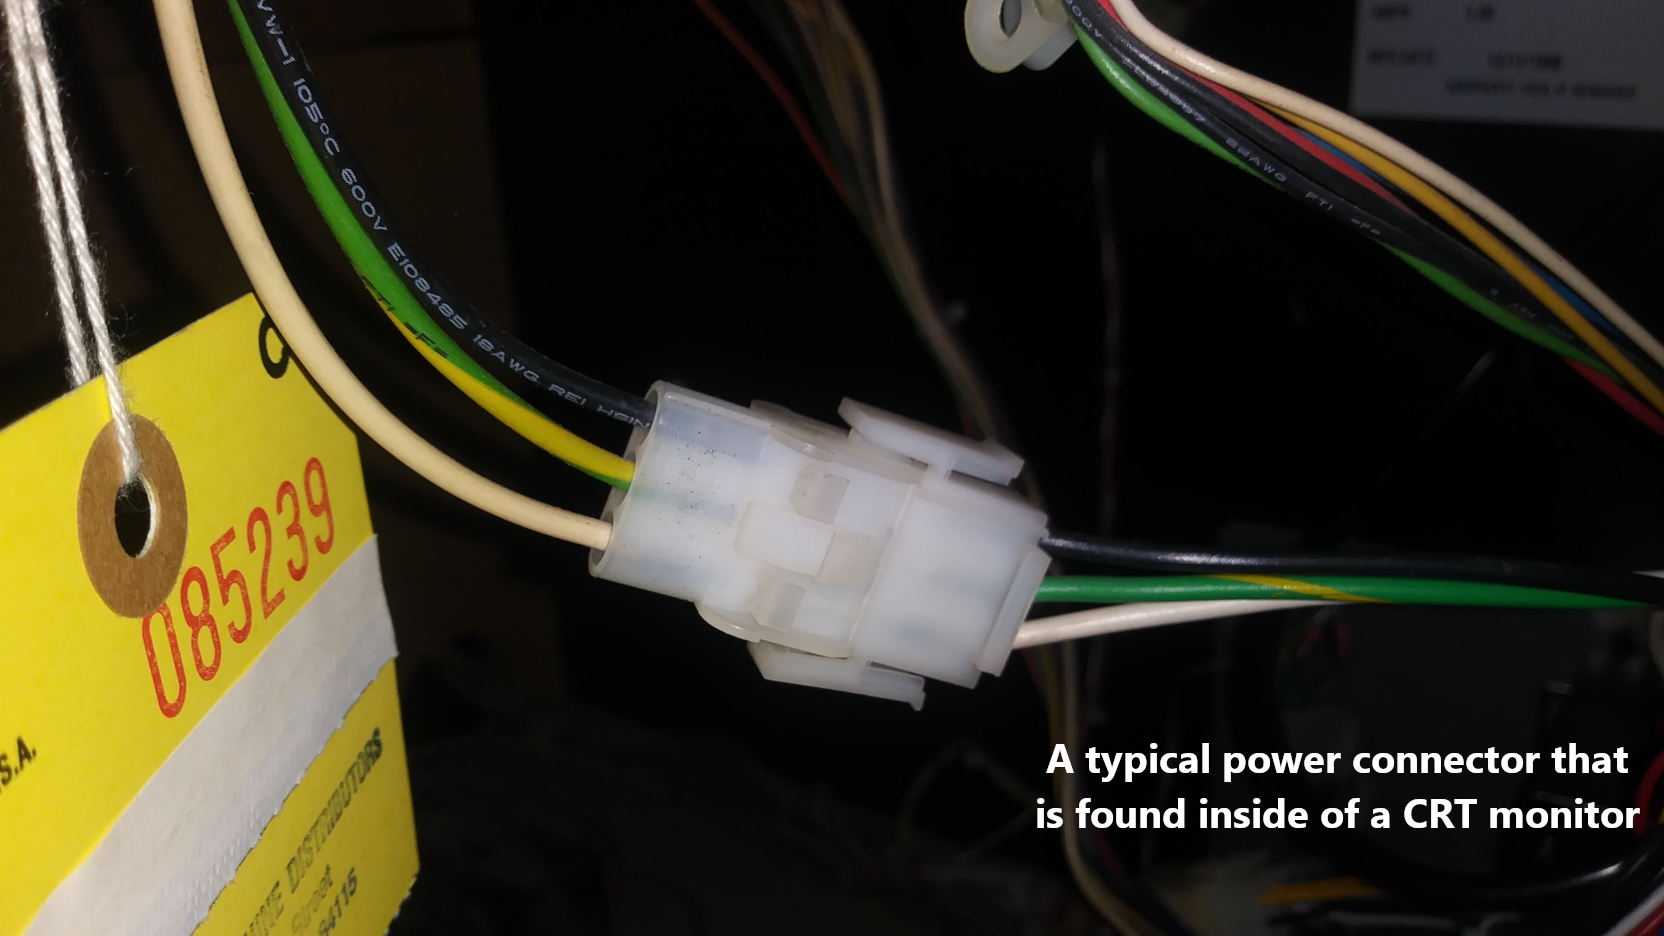
If not, then there is a component at fault, which can depend on the model of the monitor board. It can be the power from the power supply (connecting to the monitor via three wires, usually a black, white and a green w/ yellow stripe wire); the power wiring itself or a connector issue; a capacitor or group of capacitors; the flyback itself can be bad (check it for cracks; if it has cracks or any dark yellow foam coming out of it, then it is definitely bad) or another component on the circuit board. You will probably want to refer to a technician for help here.
Display Power – LCD: LCD monitors are simpler devices than CRTs, making them a little less complex to troubleshoot. If there is no image on the screen, then you will want to follow the same guidelines as a CRT at first – make sure that the rest of the machine is receiving power and that the game is operating “blind.” Do this by making sure the game has booted; if the attract sound is already on and you hear it, then continue troubleshooting the monitor. If there is no sound or indication that the game is launching after it should have loaded, then you may have a problem with the game board itself. You can also test this by connecting a different LCD monitor, like a desktop monitor, to the computer to see if there is any image displayed; you can also look closely at the monitor. If it is black, but there is a slight white glow to it, then it should be getting power. If it’s completely dark and the game is playing blind, then there is a power issue.
LCD monitors should have a display options board where you can access an OSD Menu to adjust brightness/contrast, but this varies and is not always guaranteed. If you can find such controls, then see if the OSD menu appears; that will indicate power is present. Some models may also have brightness/contrast controls available, so you can try those if present to see if the screen setting was thrown off.
Note that in most cases when an LCD is working and is getting power, but detects no video signal from a computer, it will display something like a “NO SIGNAL” message.
If there is no power to the monitor, then it can be related to the primary cabinet power supply, the internal monitor power supply (often a small circuit board that is built into the monitor that can be difficult to access, depending on the model), the power cable itself (often this is the same as used with desktop monitors and sometimes plugs into a power strip inside of the cabinet), the power strip that cable plugs into (if applicable); or the monitor settings.
If the monitor is randomly shutting itself off, then this tends to indicate a power fault in the machine. Ensure that the proper amount of power is being supplied by checking voltages, replacing any primary power supplies or surge protectors as needed.
Display power – Projector: We would recommend following the same guidelines as found with the LCD monitor here; projectors do tend to use a standardized three-prong power cable, but note that the controls for adjusting the image should be found directly on the projector itself, making it easy to access those settings when needed.
Most instances of no image on a projector come down to the projector bulb, which usually needs to be replaced after a few thousand hours of use. This will vary from projector to projector, but replacements can be found on eBay for the model of projector you are using.
Screen Distortions – CRT: There are a number of odd images that can be produced by CRTs that go outside of the normal operation. These include:
Missing colors: Colors are controlled both by transistors and capacitors on the circuit board. The easiest way to approach this is to gently tug on the video cable going to the monitor. If a color flickers in and out when you do this, then it’s likely a wiring problem, where you’ll want to repair the wire (red, green or blue signal) that belongs to the missing color. If there is no issue with the wiring, then you’ll want to consider a cap kit and recapping the monitor board. If all else fails, then it might be an issue with one of the color transistors that are typically found on the neckboard. Those also have dials near them to adjust how intense the red/green/blue is supposed to be driven.
Black lines and or splotches: Can be a fault with certain capacitors on the circuit board, generally can be fixed with a cap kit.
Rapidly scrolling image: If the entire image appears to be vertically scrolling or pulsing at a rapid rate, then your “V-Hold” setting might be off. This is usually found on the small control board that attaches to monitors, where by adjusting it you can stabilize the image. If the image continues to be a problem, then another component on the circuit board might be at fault.
Flickering or stuttering image: CRT monitors will have several wires that plug into the video port, usually on the lower right-hand corner of the circuit board. If the image is always acting wonky, one of the wires here may be loose, or the solder that connects the pins in place is old and needs to be reflowed. It can also be related to the power; If the power coming into the cabinet is too low or too high, which you can adjust by finding the 5V+ voltage adjustment knob on some power supplies to see if that makes any difference. Just be careful in doing this, since too high voltage can fry components, while too low means there’s not enough “juice” for things to work.
Single point of light on the screen, or just a bright horizontal line: The line is more common to come across and is known as vertical collapse. This is generally controlled by a transistor on the main board known as the HOT. When that goes bad, the screen collapses into one line.
Large purple or green spots: CRT use powerful magnets to bend the rays that emit from the electron guns, and are very sensitive to other magnetic sources. If someone has placed a powerful magnet near a screen, it can cause a discolored spot that doesn’t go away on it’s own. Some monitors come with a degaussing option on them, where you push a switch and it degausses the screen from stray magnetic fields to restore it. If a monitor doesn’t have that built in, then you’ll have to use a separate degaussing coil or another magnet to try and restore it back. This requires skill and care however, as placing a magnet in the wrong place can end up permanently distorting the image.
Screen burn: This is a normal defect that occurs when the same image plays on the screen over and over spanning months or years. There is no way to really get rid of it apart from swapping out the tubes, although putting a different game into it can help (in case of severe burn-in though, you’ll see shadows of the burn as you play the new game).
Corrupted text, characters or graphics: If the graphics of a game itself are showing up as distorted or corrupt, then this is the fault of the game board or video card and not the monitor. Same applies for an LCD.
Screen distortions – LCD: Most irregularities found on CRTs come from physical damage to the screen, and can only be fixed with a replacement panel. This would including splotches (especially large black splotches), spots or cracks. For some other distortions:
Discoloration: This is rare, but in the event that the colors are missing or are completely off, access the OSD menu for the monitor and check the color settings. Each monitor will probably have different settings to look at, which can include color temperature, picture modes or direct color adjustments.
You also can see if the entire screen is discolored in one particular shade, like magenta, cyan or yellow. This is usually a cable or connector problem; try adjusting the video cable to see if it goes away. If it keeps happening, then replace the cable (usually a VGA or DVI cable). If a replaced cable doesn’t fix it, then it could be the port that it’s plugging into.
Flickering or stuttering image: This is most likely caused by a loose video cable. Ensure that the cable is fixed into place on both ends by tightening the screws. If you replace the cable and it’s still happening, it might be an issue with the video card, or the power coming into the cabinet is too low or too high, which you can adjust by finding the 5V+ voltage adjustment knob on some power supplies. Just take care on how high or low you adjust it, not taking it to either extreme.
Dead or stuck pixels: Dead pixels are tiny black dots that always stay black on the screen. This is a defect of the manufacturing process and does happen to LCD panels at times. It tends to only affect one or two pixels, but if you have large amounts of dead pixels, it becomes very noticeable and you’ll want to see if you can get the monitor replaced under warranty if the machine is still new. It’s not something that can usually be fixed by anything other than a replacement.
![]()
Stuck pixels however, might be fixable; these are were the pixels stay on one color like red, green, blue, etc. You can go into the game options and find monitor adjustments. If the game has the color bars, scroll through this rapidly and see if it un-sticks it. There are also computer programs designed to un-stick pixels, where you would have to connect a laptop or computer to the monitor and run the program, but it’s not a guaranteed solution.
Washed out appearance: As LCDs age, they might become less vibrant. This might be due to the lights in the cabinet failing or going out, or it can be the brightness settings being off and needing to be adjusted.
Screen distortions – Projector: Also similar to LCDs excepting:
Washed out appearance: When the projector bulb has been operating for a few thousand hours, it tends to lose it’s vibrancy. Replacing the bulb is the best solution in these instances, but if you’ve just replaced a bulb and it’s the case, then we would recommend that you check the display settings. Also check the bulb aperture area for dust & dirt, which will cause an issue.
We hope that you have found some of this information useful; granted, it is not an advanced look at monitors, but we hope it still serves as a helpful guide on monitor problems. If you’ve bought an arcade machine from us, and are experiencing some problems, them feel free to contact our technical support department about it and we’ll see what we can do to help!